
By installing a software and by doing small bits of configuration you will be able to start a Server and hosting your own website on it. This guide is for intermediate users who knows what is computer and how to open websites and download stuff. If you want to utilize your site for business purposes, you can actually register your domain internationally with the help of sites like .br domains.
Remember this tutorial is for a Mac, but it’s very similar to Windows as well. No great experience is required in making a website or blog. You can host anything on your server like photos, video, music files it just needs internet connection and you will be able to use all the stuff from anywhere.
so let’s start .. one golden rule “Follow the Steps”
How to configure a server on a home computer
- Go to xampp
- Download xampp for MAC
- Install xampp with all services when asked
- Open xampp control panel and start the server apache

- Confirm by going http://localhost if its not opening you may have done something wrong.
Configuring your router – static IP users don’t require this step
- Open http://192.168.1.1
- Go to NAT Settings
- Open Virtual Servers Setup and add port and server IP address see image below

- Server IP will be different as per you IP
- Save and reboot your modem/router
Making your Dynamic IP address into Static IP address
- Open DynDns website for converting your dynamic IP into static IP
- Create a account which is free.
- Log in to your account and go to Host Services

- Add a name for your domain like shown in image below and press Use auto detected IP address.

- Add it to cart, it’s free so don’t worry about cart or any payment.
- Now we to download DynDNS Update Clients for telling DynDns about our IP changing time to time
- Download it and configure it by entering your account details of DynDns website.
- Also add your hostname you have made above
- Now you go to you internet browser and open your hostname that you have selected like mine is http://hiralove.homeip.net/
- now open your terminal and write “
sudo nano/etc/hosts” for opening host file
- write you Server IP like 192.168.1.6 and with a space in between write your domain name like hiralove.homeip.net
- Keep in mind 192.168.1.6 is your computer ip provided from your router automatically or you have manually settled it up.
- Now go to your http://hiralove.homeip.net domain name see if its working or not.
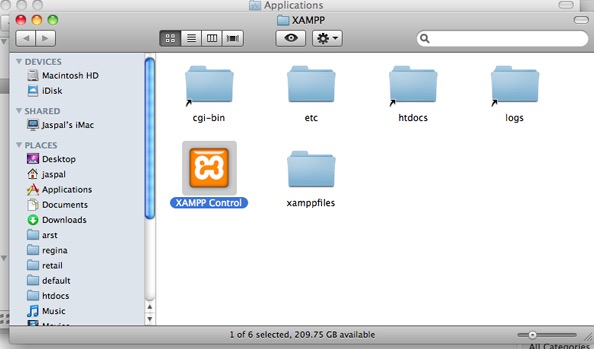
- Place anything in application/xampp/htdocs and that will appear on the webpage like in image below.

That’s it .. I have tried to make is as small as possible and I know it require more stuff to be written I will improve this article as I get responses and questions about it.